Beginner projects se ek important baat seekhi: Sirf accuracy numbers nahi chahiye — real problem solve karna hai.
Intermediate projects mein ab aap:
- Simpler datasets chhod ke real-world messy data par kaam karoge
- Traditional ML se Deep Learning mein shift karoge
- Models ko notebooks se bahar — actual applications mein deploy karoge
- LLMs aur modern AI tools ka use karoge
Ye projects recruiters actually notice karte hain. Chaliye dekhte hain 7 aise projects.
Kya Intermediate vs Beginner Mein Farq Hai?
| Aspect | Beginner Projects | Intermediate Projects |
|---|---|---|
| Dataset | Clean, standard (Iris, Titanic) | Real, messy, collected by you |
| ML vs DL | Mostly traditional ML | Neural Networks, Transformers |
| Output | Jupyter Notebook | Deployed app / API |
| Problem | Classification/Regression | Multi-step pipelines |
| Models | Single model | Ensemble, Transfer Learning |
| Scale | 1000s of rows | 100,000s rows |
1. Face Mask Detector with Real-time Webcam
Difficulty: ⭐⭐⭐ | Time: 12-15 hours | Skills: CNN, Transfer Learning, OpenCV
CCTV ya webcam feed mein real-time detect karo ki kisne mask pehna hai aur kisne nahi.
Architecture:
import tensorflow as tf
from tensorflow.keras.applications import MobileNetV2
from tensorflow.keras.layers import Dense, GlobalAveragePooling2D, Dropout
from tensorflow.keras.models import Model

# Transfer Learning — MobileNetV2 as base
base_model = MobileNetV2(input_shape=(224, 224, 3), include_top=False, weights='imagenet')
base_model.trainable = False  # Base weights freeze karo

# Custom head add karo
x = base_model.output
x = GlobalAveragePooling2D()(x)
x = Dense(128, activation='relu')(x)
x = Dropout(0.5)(x)
output = Dense(2, activation='softmax')(x)  # with_mask, without_mask

model = Model(inputs=base_model.input, outputs=output)
model.compile(optimizer='adam', loss='categorical_crossentropy', metrics=['accuracy'])
Real-time detection:
import cv2

cap = cv2.VideoCapture(0)  # Webcam
face_cascade = cv2.CascadeClassifier(cv2.data.haarcascades + 'haarcascade_frontalface_default.xml')

while True:
    ret, frame = cap.read()
    gray = cv2.cvtColor(frame, cv2.COLOR_BGR2GRAY)
    faces = face_cascade.detectMultiScale(gray, 1.1, 4)

    for (x, y, w, h) in faces:
        face = frame[y:y+h, x:x+w]
        face = cv2.resize(face, (224, 224))
        face = face / 255.0
        face = face.reshape(1, 224, 224, 3)

        prediction = model.predict(face)[0]
        label = "Mask" if prediction[0] > 0.5 else "No Mask"
        color = (0, 255, 0) if label == "Mask" else (0, 0, 255)

        cv2.rectangle(frame, (x, y), (x+w, y+h), color, 2)
        cv2.putText(frame, label, (x, y-10), cv2.FONT_HERSHEY_SIMPLEX, 0.9, color, 2)

    cv2.imshow('Mask Detector', frame)
    if cv2.waitKey(1) & 0xFF == ord('q'):
        break

cap.release()
Dataset: Face Mask Detection Dataset
Why impressive: Real-time computer vision = clear demonstration of production-ready skills.
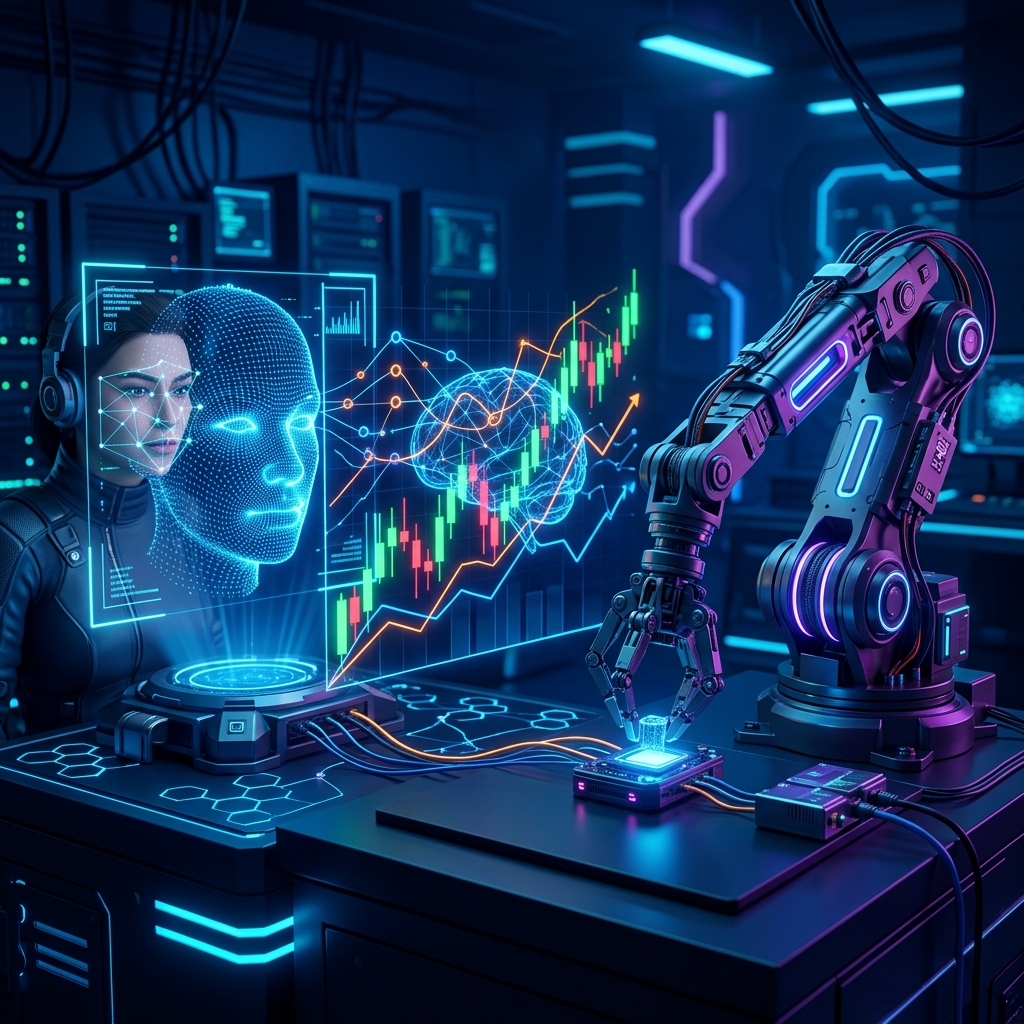
2. Stock Price Predictor with LSTM
Difficulty: ⭐⭐⭐⭐ | Time: 15-20 hours | Skills: Time Series, LSTM, Data Visualization
LSTM (Long Short-Term Memory) use karke stock prices predict karna — past 60 days data se next day ki price.
Important disclaimer to add in your project: "Stock market prediction highly uncertain hai — ye project educational purposes ke liye hai, investment advice nahi."
import numpy as np
import pandas as pd
import yfinance as yf
from sklearn.preprocessing import MinMaxScaler
from tensorflow.keras.models import Sequential
from tensorflow.keras.layers import LSTM, Dense, Dropout

# Data download karo (yfinance se)
stock = yf.download('RELIANCE.NS', start='2020-01-01', end='2024-12-31')
prices = stock['Close'].values.reshape(-1, 1)

# Normalize karo
scaler = MinMaxScaler()
prices_scaled = scaler.fit_transform(prices)

# Sequences create karo (60 days history → 1 day prediction)
def create_sequences(data, seq_length=60):
    X, y = [], []
    for i in range(len(data) - seq_length):
        X.append(data[i:i+seq_length])
        y.append(data[i+seq_length])
    return np.array(X), np.array(y)

X, y = create_sequences(prices_scaled)
split = int(0.8 * len(X))
X_train, X_test = X[:split], X[split:]
y_train, y_test = y[:split], y[split:]

# LSTM Model
model = Sequential([
    LSTM(50, return_sequences=True, input_shape=(60, 1)),
    Dropout(0.2),
    LSTM(50, return_sequences=False),
    Dropout(0.2),
    Dense(25),
    Dense(1)
])

model.compile(optimizer='adam', loss='mse')
model.fit(X_train, y_train, epochs=20, batch_size=32, validation_split=0.1)
Interesting angle: Compare LSTM vs simple Moving Average vs Prophet — show ki deep learning always better nahi hota!
3. Document Question Answering (RAG System)
Difficulty: ⭐⭐⭐⭐ | Time: 15-20 hours | Skills: LLM APIs, Vector Databases, RAG
PDF ya documents upload karo, aur AI se questions poocho — wo document ke basis par answer dega.
This is literally what companies pay 25-40 LPA for in 2026.
from langchain.document_loaders import PyPDFLoader
from langchain.text_splitter import RecursiveCharacterTextSplitter
from langchain.embeddings import OpenAIEmbeddings
from langchain.vectorstores import Chroma
from langchain.chat_models import ChatOpenAI
from langchain.chains import RetrievalQA

# Step 1: Document load karo
loader = PyPDFLoader("document.pdf")
documents = loader.load()

# Step 2: Chunks mein split karo
splitter = RecursiveCharacterTextSplitter(chunk_size=1000, chunk_overlap=200)
chunks = splitter.split_documents(documents)

# Step 3: Vector store mein save karo
embeddings = OpenAIEmbeddings()
vectorstore = Chroma.from_documents(chunks, embeddings)

# Step 4: QA Chain banao
llm = ChatOpenAI(model="gpt-4o-mini", temperature=0)
qa_chain = RetrievalQA.from_chain_type(
    llm=llm,
    retriever=vectorstore.as_retriever(search_kwargs={"k": 3})
)

# Step 5: Questions poocho!
answer = qa_chain.run("Document mein kya main topics hain?")
print(answer)
Free alternative (no API cost): Ollama local LLM + ChromaDB + LangChain
4. Language Translator with Transformers
Difficulty: ⭐⭐⭐ | Time: 10-12 hours | Skills: Hugging Face, Transformers, NLP
Hugging Face ke pre-trained models use karke multi-language translator.
from transformers import pipeline, AutoModelForSeq2SeqLM, AutoTokenizer

# Hindi to English
translator = pipeline("translation", model="Helsinki-NLP/opus-mt-hi-en")
result = translator("AI ek bahut powerful technology hai.")
print(result[0]['translation_text'])  # "AI is a very powerful technology."

# English to multiple languages
model_name = "facebook/nllb-200-distilled-600M"  # 200 languages!
model = AutoModelForSeq2SeqLM.from_pretrained(model_name)
tokenizer = AutoTokenizer.from_pretrained(model_name)

def translate(text, src_lang="eng_Latn", tgt_lang="hin_Deva"):
    inputs = tokenizer(text, return_tensors="pt", src_lang=src_lang)
    outputs = model.generate(**inputs, forced_bos_token_id=tokenizer.lang_code_to_id[tgt_lang])
    return tokenizer.batch_decode(outputs, skip_special_tokens=True)[0]

print(translate("Artificial Intelligence is changing the world"))
Portfolio angle: Build a Streamlit app supporting 10+ languages. India mein regional languages support add karo — Hindi, Marathi, Tamil, Telugu, Bengali.
5. Resume Parser and Job Matcher
Difficulty: ⭐⭐⭐ | Time: 12-15 hours | Skills: NLP, NER, Cosine Similarity
Resume se automatically information extract karo aur job descriptions se match karo.
import spacy
from sklearn.feature_extraction.text import TfidfVectorizer
from sklearn.metrics.pairwise import cosine_similarity

nlp = spacy.load("en_core_web_sm")

def parse_resume(resume_text):
    doc = nlp(resume_text)

    # Named entities extract karo
    entities = {
        'skills': [],
        'organizations': [],
        'emails': [],
        'phones': []
    }

    for ent in doc.ents:
        if ent.label_ == 'ORG':
            entities['organizations'].append(ent.text)

    # Skills (custom keyword matching)
    ai_skills = ['Python', 'Machine Learning', 'TensorFlow', 'PyTorch',
                 'NLP', 'Computer Vision', 'SQL', 'Pandas']
    entities['skills'] = [s for s in ai_skills if s.lower() in resume_text.lower()]

    return entities

def job_match_score(resume_text, job_description):
    """Cosine similarity se match score"""
    vectorizer = TfidfVectorizer()
    vectors = vectorizer.fit_transform([resume_text, job_description])
    score = cosine_similarity(vectors[0:1], vectors[1:2])[0][0]
    return round(score * 100, 1)

# Usage
resume = "Experienced ML Engineer with 3 years in Python, TensorFlow..."
job = "Looking for ML Engineer with Python, Deep Learning, and AWS..."
print(f"Match Score: {job_match_score(resume, job)}%")
6. Object Detection in Videos (YOLO)
Difficulty: ⭐⭐⭐⭐ | Time: 15-20 hours | Skills: Computer Vision, YOLO, OpenCV
Video mein multiple objects (insaan, car, kutta, bottle) detect karo real-time mein.
pip install ultralytics
from ultralytics import YOLO
import cv2

# Pre-trained YOLO model load karo
model = YOLO('yolov8n.pt')  # Nano — fastest

# Video file par detect karo
results = model.track('traffic_video.mp4', show=True, save=True, conf=0.5)

# Webcam par real-time
cap = cv2.VideoCapture(0)
while cap.isOpened():
    ret, frame = cap.read()
    results = model.predict(frame, conf=0.5)
    annotated = results[0].plot()
    cv2.imshow('YOLO Detection', annotated)
    if cv2.waitKey(1) & 0xFF == ord('q'):
        break
Custom training: Apna khud ka dataset banao (roboflow.com se annotate karo) aur custom objects detect karo.
7. Emotion Recognition from Text (Advanced Sentiment)
Difficulty: ⭐⭐⭐ | Time: 10-12 hours | Skills: Transformers, Fine-tuning
Simple positive/negative se aage — 8 specific emotions detect karo: joy, sadness, anger, fear, surprise, disgust, trust, anticipation.
from transformers import pipeline

# Zero-shot (bina training ke!)
emotion_classifier = pipeline(
    "text-classification",
    model="j-hartmann/emotion-english-distilroberta-base",
    return_all_scores=True
)

texts = [
    "Mere project mein A+ grade aaya! Bahut khush hoon!",
    "Exam fail ho gaya, bahut disappointing hai",
    "Ye kab khatam hoga, bahut bore ho gaya hoon"
]

for text in texts:
    results = emotion_classifier(text[:512])[0]
    top_emotion = max(results, key=lambda x: x['score'])
    print(f"Text: {text[:50]}...")
    print(f"Emotion: {top_emotion['label']} ({top_emotion['score']:.2%})\n")
Application ideas: Customer feedback analysis, social media mental health monitoring, chatbot emotional intelligence.
Projects Ko "Job-Ready" Kaise Banayein?
Sirf working code nahi — presentation matters equally:
Checklist
✅ GitHub repo: clean code, proper commits
✅ README: problem statement, approach, results, screenshots
✅ Deployed demo (Streamlit / Hugging Face Spaces)
✅ Jupyter Notebook: well-documented with markdown cells
✅ Requirements.txt / environment.yml
✅ Results visualizations (not just accuracy numbers)
✅ Limitations section (shows maturity)
Streamlit Deployment (Free)
# Hugging Face Spaces par deploy karo (free!)
# 1. Hugging Face account banao
# 2. New Space → Streamlit select karo
# 3. GitHub repo connect karo

# Ya Streamlit Cloud par:
# streamlit.io → Deploy → GitHub repo select karo
FAQs
1. In projects mein sabse zyada time kahan lagta hai? Data collection aur cleaning (30-40%), model debugging (30%), deployment (20%). Training usually fast hai.
2. Kya ye projects internships ke liye sufficient hain? Face Mask Detector + Document QA System + ek deployed Streamlit app — ye combination 90% ML internship requirements cover karta hai.
3. Open-source LLMs se similar projects possible hain (without API cost)? Haan! Ollama + Llama 3 locally run karo. LangChain supports both OpenAI aur local models.
4. YOLO project ke liye GPU zaroori hai? Inference ke liye nahi — YOLOv8 Nano CPU par bhi real-time chala sakta hai. Custom training ke liye Google Colab GPU use karo.
5. In projects mein kaggle competitions add karna chahiye? Haan! Kaggle Gold/Silver medals actual achievements hain. Competition score mention karna (jaise "Top 15% in Kaggle House Prices competition") strong signal hai.
In mein se kaunsa project try karna chahte ho? Comment mein batao — specific help chahiye toh bhi bolo! 🚀
Tarun ke baare mein: Tarun ek AI educator aur developer hain jo portfolio-ready projects ke through AI seekhne ka sabse effective tarika mante hain. AI-Gyani par theory se production tak — sab practical hai.